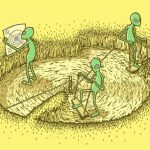
Anybody can make a crop circle with simple tools. The only tools you need are rope, boards or metal pipes and a willing crew. Here is a common way of making crop circles.
1. Choose a legal location for your crop circle.
Obtain permission from the land owner before you start planning. Ideal choices are sloped fields that rise from public vantage points (a road for instance), or even an amphitheater-like valley.
2. Plan your crop circle using a large scale map, to ensure access for both you and your audience.
Plot your straight-line or circular design. Mark on the map the directions you will be flattening, to avoid visible signs of passage (inexperienced circle makers can spoil a design by leaving stripes like a lawnmower would). Initial access is normally through existing farm tracks and trails, so note the position of them before you start.
3. Create your design on computer, and make amendments until you have the design you can be proud of.
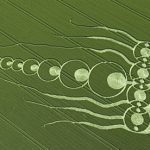
Use inspiration from state-of-the-art designs as seen on the internet. Practicing shape-making in the field will only result in people seeing your mistakes. Start simple: consider making your first crop circle from an arrangement of discs in a geometric formation. More advanced curved lines can be created by overlapping partial circular arcs.
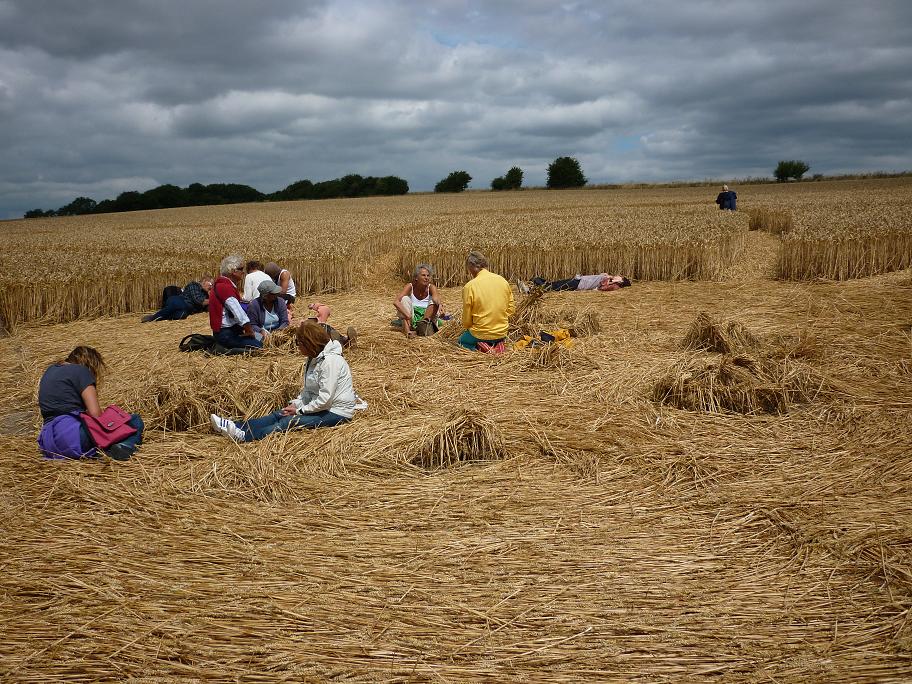
4. Choose your time carefully. The crop circle season extends from roughly April to harvesting in September, although the best time to make a circle is in mid to late June. When still immature, wheat rises back toward the sun, making a circle look brushed rather than flattened. Flatten during a dry period, to avoid churning up mud. Try to use the cover of night. Remember that ideally you should be finished by dawn, when you can take a picture of the pristine design before swarms of “croppies” come and trample all over it.
5. Equip each person with the tools you will need.
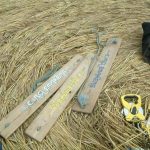
These tools are very low tech and easily accesible. A light plank (4-6 feet in length) with a rope (10-12 feet) knotted through holes in each end. Alternatively, you may prefer to buy a light garden roller from a garden centre. A surveryors reel measuring tape as it doesnt stretch. Rope or nylon can be used but may stretch and make wobbly edges to circles. Marking poles – paint tips white to aid visibility at night. Protractor for measuring angles Measuring tape (100 ft) Night-vision goggles (optional) – your eyes adjust to complete dark in 20 minutes. Laser-pointer to assist placing markers (optional)
6. Once in the field, use measurements to place markers exactly.
Your friends can help you place markers, make line-of-sight calculations, and lay the rope to mark areas for flattening.
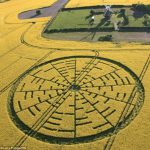
7. Make construction lines by laying rope outlines to shapes.
Then flatten circles at the intersection points. For example, create a rope outline of a equilateral triangle, and create flattened circles at the triangle corners. Avoid flattening over the rope, to create an implied triangle.
8. There are two methods commonly used to flatten:
- Plank Flattening – use a roped plank to flatten by holding the rope or looping it over your shoulders. Press forwards and down by keeping one foot on the plank. Advance using a shuffling gait.
- Using a roller – some circlemakers prefer using a light roller (available from garden centers) to speed up flattening.
9. Keep on flattening until you have completed your design and have a really nice, well made complex formation.
Remember to take away everything you brought to the site, including the soft drink bottles which are so easy to discard in the outlying field. These are a sure distractor to the otherwise mysterious formation.
10. Wait for the media to spot the new formation.
This may take several days, or you can speed the process by making an anonymous call. A good design will provide local newspapers with many column-inches of speculation.
11. Get a drone (buying, renting or through your geek buddy) and have it photographed the crop circle on various angles.